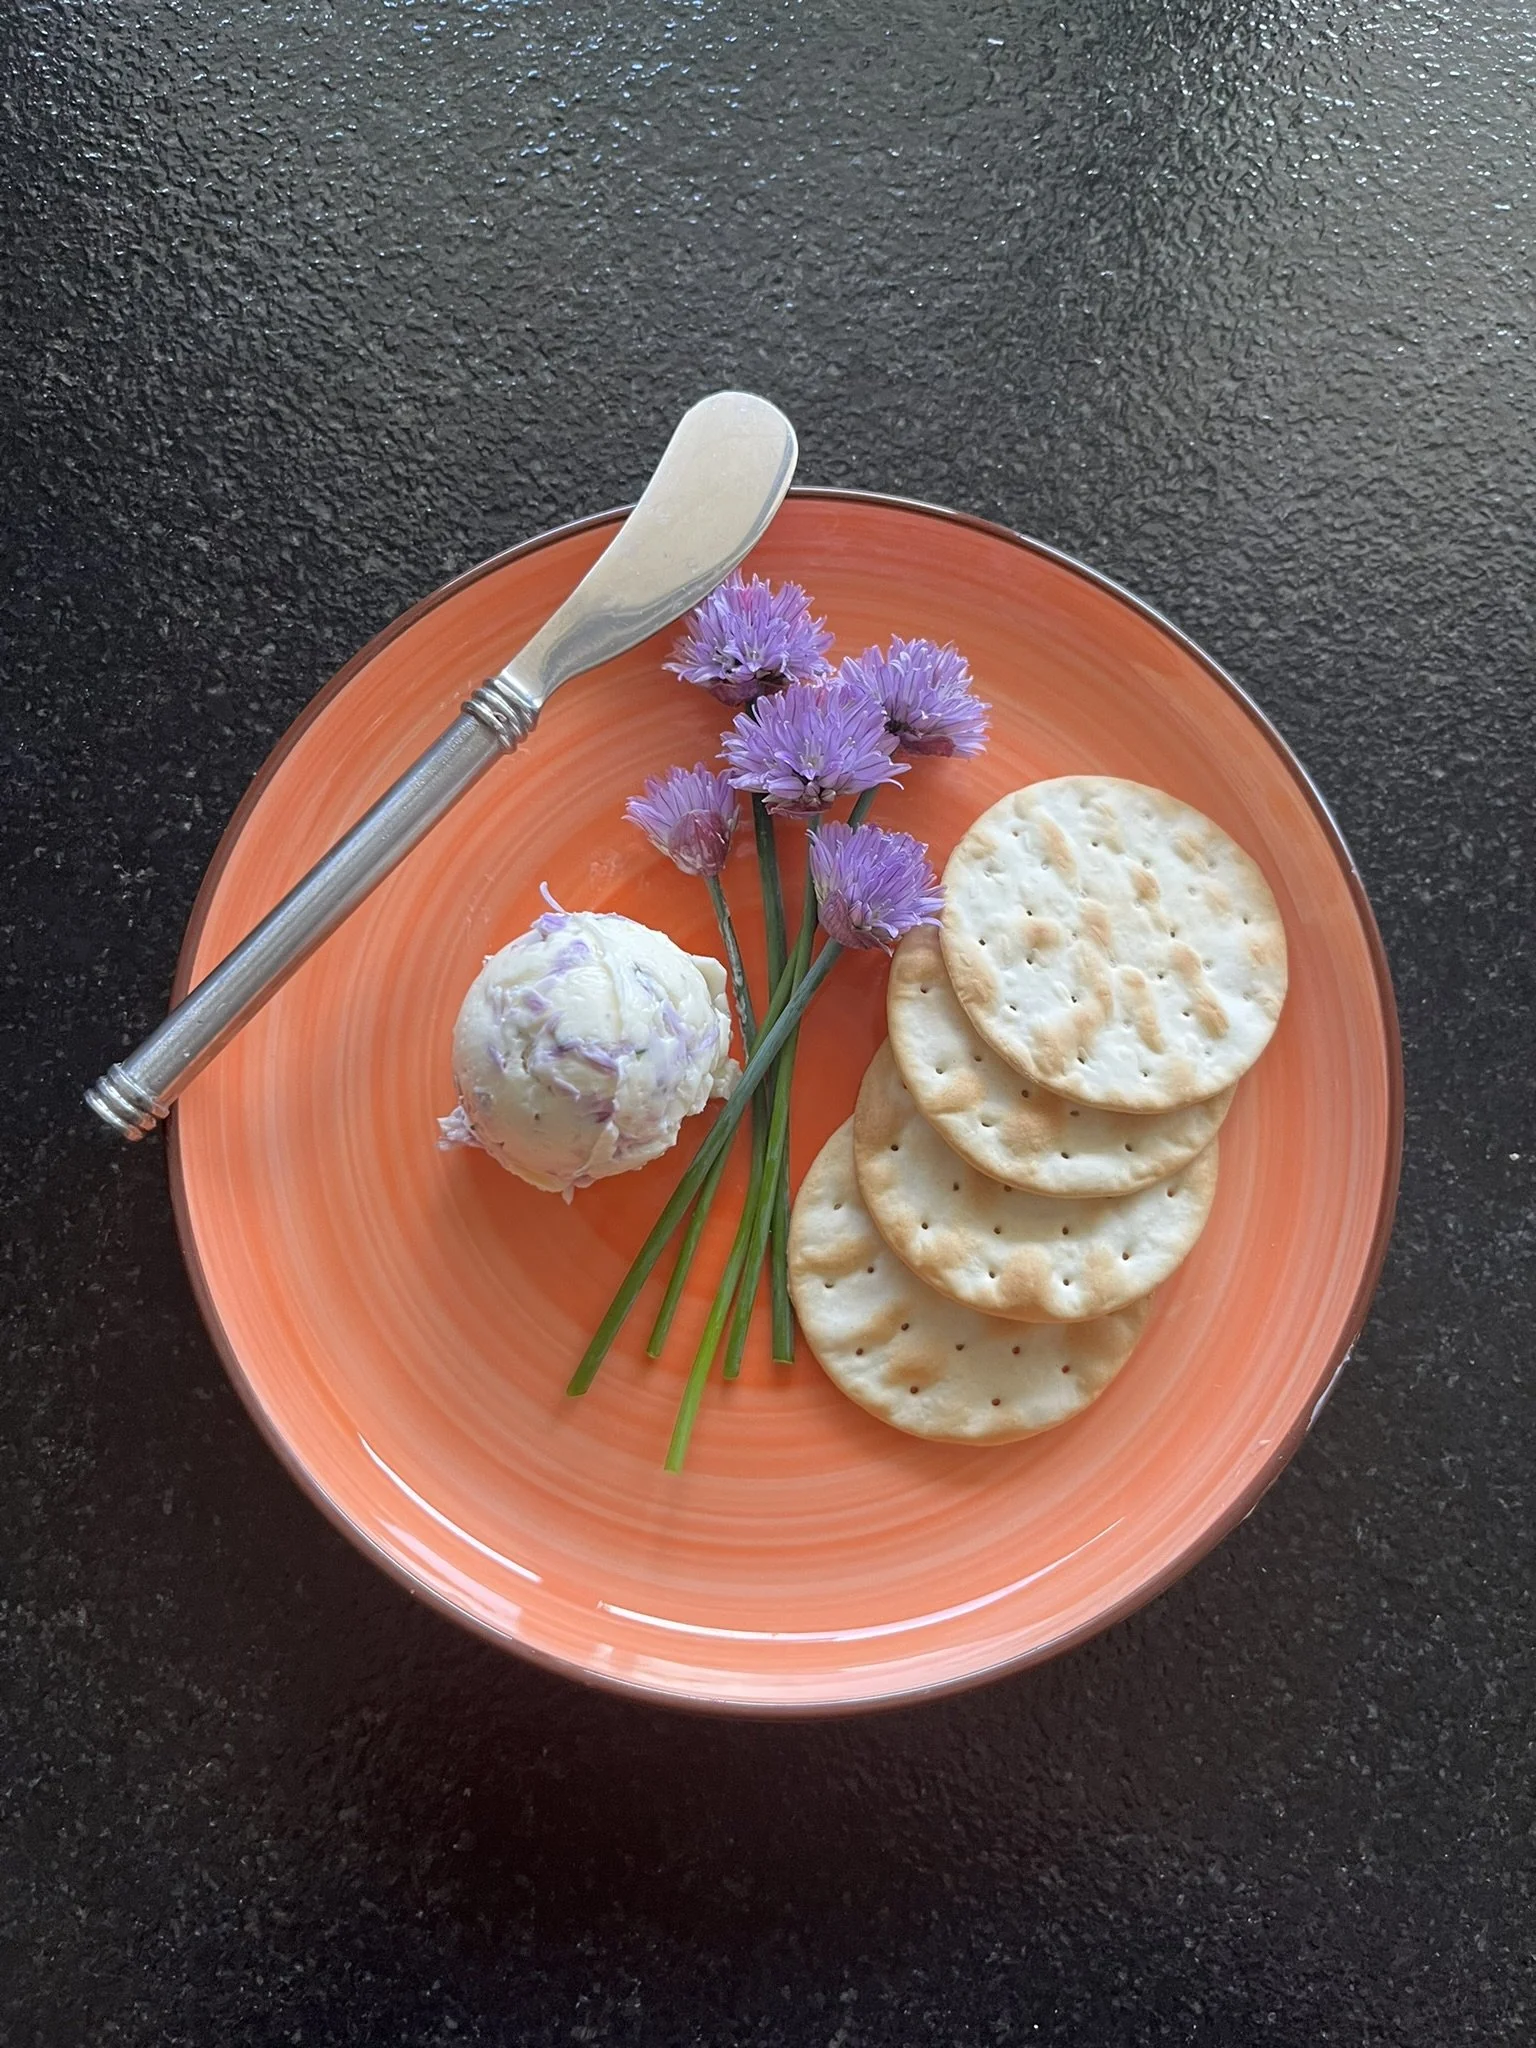
Homemade Butter with Herbs
It is likely that if you whip cream with any regularity, you have either made, or come close to making, butter by accident. It truly is as easy as whipping cream too far until it separates into solids and liquids. The flavor of home-made butter is far superior to that which is available in supermarkets, and very close to the expensive European butters available in specialty stores. Adding herbs, shallots, or other flavorful foods and spices take this butter to a new level, and can make a very simply prepared meat, fish or vegetable into something special.
Servings: approximately 1-1/2 pounds
Ingredients:
1 quart heavy cream
1 T. or to taste salt*
Herbs, shallots, sun dried tomatoes, spices, soy sauce, anything that catches your imagination.**
Special equipment: Cheesecloth (optional)
*If you are adding a salty component like soy sauce or Parmesan cheese, reduce or omit salt.
**The proportions of the additional flavor are up to you and your taste buds. Generally, this is butter with flavoring, not flavor coated with butter, so start small and add until you achieve that balance you want. When last we made this, we used approximately 3/4 cup of chive flowers. Before, I used about 1/2 cup taragon and 1/2 cup saute shallots. Spices would be less, say a couple of tablespoons.
Instructions:
Pour the cream and salt into the bowl of a stand mixer with the whisk attachment.
Turn on the mixer to medium. CAUTION - cream will splash out, so cover you mixer with a clean kitchen towel and mix until the cream has solidified enough to stop splashing, then remove towel and turn mixer to high.
Continue mixing until there is clearly a solid and a liquid. (The liquid is called buttermilk, but is not the same as the buttermilk you buy in stores.) This can take up to 10 minutes, so don’t be discouraged. It will happen, and you can’t over-beat it.
Taste, and if it is still sour, mix for a bit longer. If using cheesecloth, place the solids in the cheesecloth and squeeze out any additional moisture. (If you are not using cheesecloth, collect the butter in your hands and squeeze until no more liquid comes out - slightly messier, but it works too.) There should be minimal liquid left at this point. If you have a lot coming out, or if it still tastes sour, put it back in the mixer and mix for a while longer.
You have delicious plain butter at this point, wonderful for slathering on a fresh-baked piece of bread, but if you want to add a flavor, now is the time. Put the butter in a bowl (can be the mixing bowl previously used after you have poured out the buttermilk) and add your flavor and mix by hand until fully incorporated.
Place butter in an airtight container and refrigerate. Can also be frozen. We often put the butter in molds or ice cube trays and freeze them in small quantities, then take them out as needed.